

TigerAI browser
Step1: Preparation
Before integration, you need to complete the following preparations
Download, install and log in to TigerAI
Get the proxy IP, please refer to the tutorial:
Dynamic Residential API Extraction
Dynamic Residential Account and Password Authentication
Step2: Proxy configuration
API configuration
API configuration is authenticated through IP whitelist. Please make sure you have added your local IP to the whitelist before configuration
Please refer to the tutorial for adding whitelist: IP whitelist tutorial
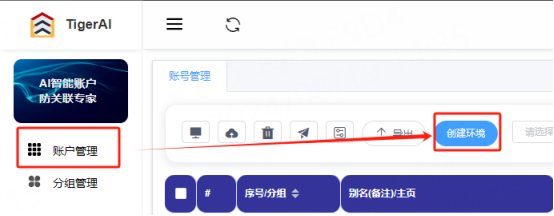
1. Enter the account management interface and click Create Environment

2. Fill in the proxy information
Enter the environment nickname (custom), click Custom Proxy

Select the proxy method according to your needs (HTTP, HTTPS, socks5 can be selected)
Copy the extracted IP, port, and paste it into Proxy IP (proxy host) and port in the configuration interface
Proxy type: choose socks5
Proxy Host: 101.46.141.80
Proxy Port: 28662
Click Detect Proxy. After the detection is successful, click OK to create

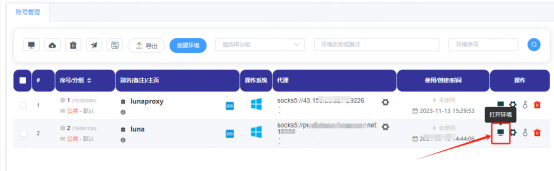
3. You can see the successfully configured browser in the account management interface. Click Open to use

Account and password configuration
1. Enter the account management interface and click Create Environment
2. Fill in the proxy information
Enter the environment nickname (custom), click Custom Proxy, and select the protocol to be used. Here, the socks5 protocol is used as an example
Paste the host, port, account, and password to the corresponding position
Proxy Host:
Proxy Port:
Proxy username:Enter your LunaProxy proxy region customer-username
Proxy password:Enter your LunaProxy proxy region password
Click Detect Proxy. After the detection is successful, click Confirm

3. You can see the successfully configured browser in the browser configuration interface. Click Open to use
You have successfully integrated LunaProxy with TigerAI!
Connection failed
If the detection fails, please refer to our test tutorial: Proxy cannot connect
Last updated
Was this helpful?